
Electric Chain Hoist Inspection Checklist: Load Chain, Hooks, Brake, Limit Switches and Controls
An electric chain hoist inspection is more than a glance at the hook. It follows the load path, checks controls and stopping functions, considers the support, and records defects before the next lift. This helps operators catch visible problems and qualified personnel make deeper decisions.
This practical framework covers industrial electric chain hoists lifting freely suspended material loads. It does not replace the manufacturer’s manual, lift plan, site program, or applicable law. Scope and frequency must reflect the model, service severity, environment, history, local rules, and earlier findings.
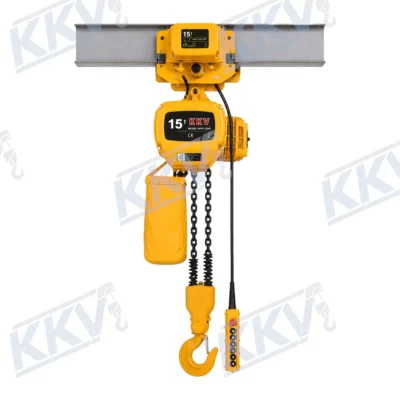
If you are comparing equipment as well as building an inspection program, start with KKV Hoist’s electric hoist category and the guide on how to choose an electric hoist. Product pages are useful starting points for identifying configurations; final selection and application approval still require verified load, duty, power, suspension, travel, and environmental data. For hand-operated equipment, use the separate manual chain hoist inspection checklist instead of copying electric-control checks into the wrong inspection scope.
Quick answer: Before use, verify the hoist’s identity and rating, then follow the suspension, body, load chain, lower block, hook, latch, and attachment path. With the area clear and hook unloaded, check direction, button return, brake response, trolley travel, and limit devices as instructed. Remove the hoist from service for cracking, deformation, abnormal wear, damaged wiring, uncontrolled movement, brake drift, failed safety functions, or unresolved conditions. A pre-use check never replaces required frequent or periodic inspection.
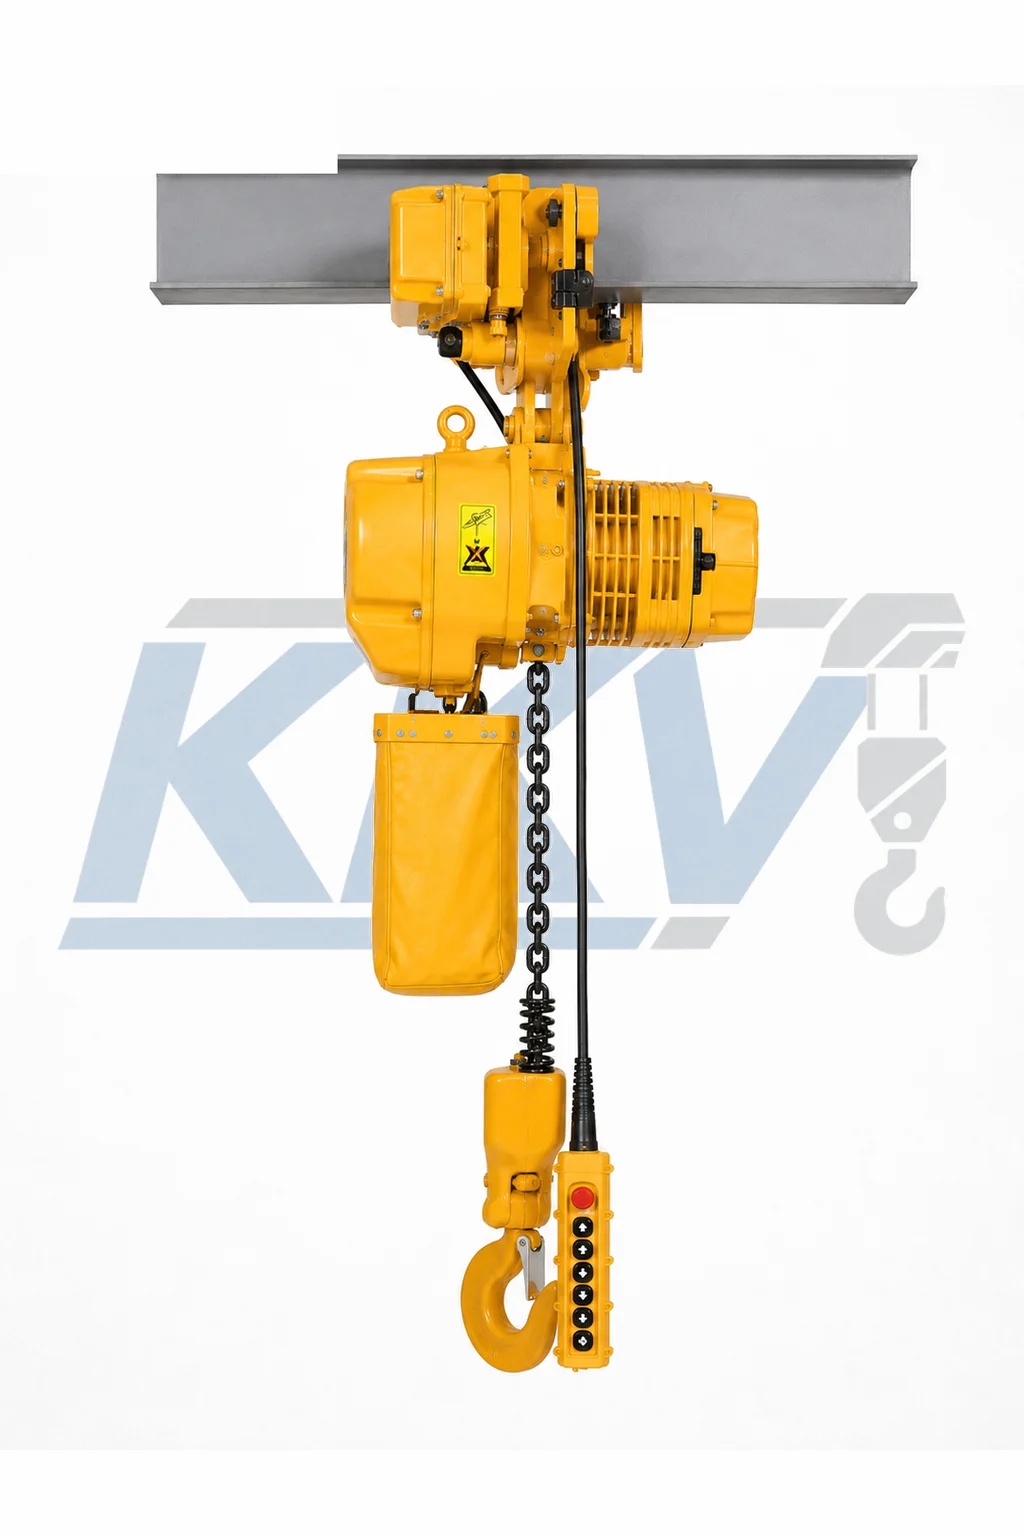
Table of contents
- Set the Right Inspection Level
- Prepare and Isolate the Hoist Safely
- Verify the Nameplate and Complete Load Path
- Inspect the Load Chain and Chain Container
- Inspect Hooks and Safety Latches
- Test the Brake and Hoist Operation
- Check Upper and Lower Limit Devices
- Inspect Pendant Controls and Emergency Stop
- Inspect the Trolley, Beam, and Suspension
- Inspect the Electrical System, Lubrication, and Environment
- Report Defects and Remove Unsafe Equipment From Service
- Maintain Useful Inspection Records
- Follow the Step-by-Step Electric Chain Hoist Inspection Checklist
- Avoid Common Electric Chain Hoist Inspection Mistakes
- Electric Chain Hoist Inspection FAQs
1. Set the Right Inspection Level
The words pre-use, frequent, and periodic describe complementary controls, not interchangeable names for the same check.
| Inspection layer | Main purpose | Typical scope | Performer and evidence |
|---|---|---|---|
| Pre-use or shift | Find obvious damage, changed setup, or abnormal behavior before lifting | Visible load path, controls, brake response, direction, and required safety-device checks | Trained operator; report defects and record as the site requires |
| Frequent | Examine items that can deteriorate quickly in the actual service | Chain, hooks, latches, reeving, controls, brake behavior, and other manual-defined items | Person and documentation defined by the governing program |
| Periodic | Assess the complete hoist and support in depth | Frequent items plus measurements, fasteners, load train, brake parts, electrical apparatus, and supporting equipment as applicable | Properly qualified or designated person; formal traceable record |
| Event-driven or return-to-service | Determine condition after an unusual event, repair, alteration, relocation, or inactivity | Scope based on what happened, applicable rules, and manufacturer instructions | Authorized specialists; documented approval before release |
Operators should also report new noise, smell, vibration, delay, or changed stopping response during use. A clean pre-use card is not proof of periodic inspection.
The KITO ER2 owner’s manual, for example, provides separate daily, frequent, and periodic check sheets and tells users to select items appropriate to their environment and operating conditions. That illustrates a useful layered structure, but its model-specific methods and limits must not be copied to a KKV hoist without verification.
There is no single inspection interval that can be copied safely into every facility worldwide. For example, OSHA’s overhead and gantry crane rule defines inspection classifications and duties within its scope, while ASME B30.16 covers construction, operation, inspection, testing, and maintenance for specified overhead underhung and stationary hoists. Other countries, industries, and special applications use different legal frameworks. Determine which rules actually apply, then combine them with the exact hoist manual and a documented assessment of service.
Inspection evaluates condition, maintenance addresses deterioration, and a load test demonstrates specified performance under control. One does not automatically satisfy another.
2. Prepare and Isolate the Hoist Safely
Begin with the correct manual, asset record, adequate lighting, and a clear area. Identify the model and serial number rather than assuming a nearby manual applies. Review unresolved findings, recurring wear, repairs, unusual events, and time out of service. Obtain the manufacturer’s tools and criteria when measurements are due.
Separate operational checks from hands-on inspection. A no-load motion test necessarily uses energy, so keep people outside the travel and drop zones, use the normal operating position, and be ready to stop. Never stand under the hook or create a suspended-load exposure just to inspect a component.
Before touching moving parts, opening an enclosure, adjusting the brake, or repairing, remove the load, park safely, set controls to off, isolate every hazardous energy source, and apply the site’s lockout/tagout procedure. Control stored energy, adjacent cranes, conductor systems, and remote commands too. In the United States, assess OSHA’s control of hazardous energy rule; elsewhere, follow local requirements.
Place visible out-of-service warnings and prevent another person from re-energizing or using the equipment. Inspection does not authorize an unqualified person to enter electrical enclosures or dismantle load-bearing parts. After work, account for tools, reinstall guards, reactivate safety devices, clear personnel, and follow the required return-to-service inspection and test process.
3. Verify the Nameplate and Complete Load Path
The nameplate should be present, legible, securely attached, and consistent with the asset record. Confirm rated load, manufacturer, model, serial or unique identifier, power data, lifting speed, duty information, and other markings required for that model and jurisdiction. Do not infer capacity from hook size, housing color, chain diameter, or a neighboring hoist. If identity or rating cannot be verified, pause the inspection and quarantine the unit until authoritative documentation resolves it.
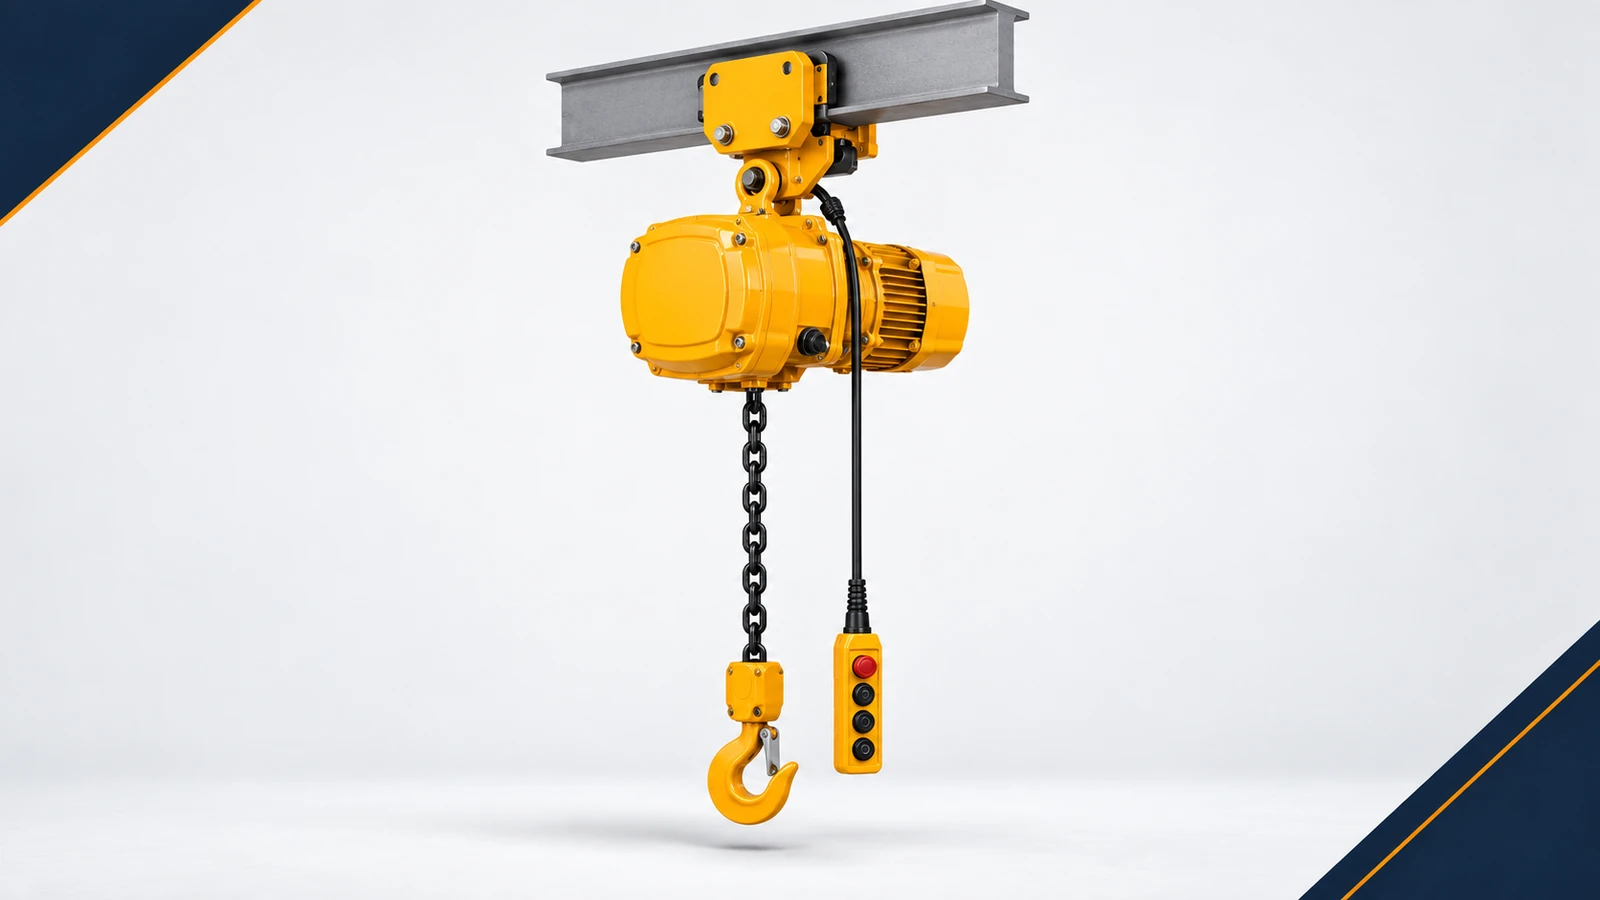
Trace the load path from support to load: beam, trolley or suspension, top hook or lug, hoist frame, load-bearing mechanism, chain, anchorage, lower block, bottom hook, latch, and rigging. A perfect-looking bottom hook cannot compensate for a loose suspension pin, damaged anchor, cracked trolley, or unsuitable beam.
Confirm that the load, including accessories, is within every verified rating and centered for vertical lifting. Never wrap the load chain around the load. Side pulling, dragging, tip loading, or freeing stuck objects introduces unintended forces.
4. Inspect the Load Chain and Chain Container
The load chain deserves slow, link-by-link attention because wear may be localized. First make it clean enough to see without using a cleaning process prohibited by the manufacturer. With no load, move the chain through its normal range as instructed so the section that usually sits inside the hoist or container becomes visible. Keep hands away from the load sheave, guides, and pinch points while the hoist is energized.
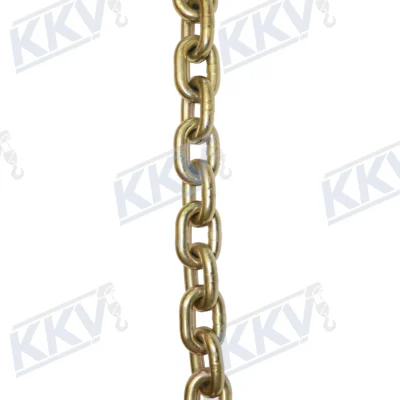
Look at each accessible link and the contact areas between links. Escalate cracks, nicks, gouges, cuts, bent or twisted links, weld damage, severe corrosion, heat discoloration, pitting, metal loss, restricted articulation, or poor seating. Listen and watch for irregular engagement, jumping, binding, bunching, or angled entry into the guide.
Measure elongation and wear by the exact manufacturer’s method, including its link span, points, chain condition, gauge, and rejection value. Never substitute a generic threshold or nominal dimension for the specified method or a verified baseline. The Harrington RNER2 owner’s manual, for example, treats chain, hooks, sheaves, guides, brake, limits, controls, and power as related systems; its values apply to identified equipment, not every hoist.
Check reeving against the manual, especially on multi-fall models. The chain must not be capsized, twisted between the hoist and lower block, or incorrectly routed. Verify the no-load end and chain-stop or anchorage arrangement without assuming that the visible end fitting is designed to carry an operating load. Never weld, heat, grind, straighten, splice, or locally replace a damaged load-chain link unless an authoritative manufacturer procedure expressly permits the work. Chain and mating parts may need coordinated replacement by qualified personnel.
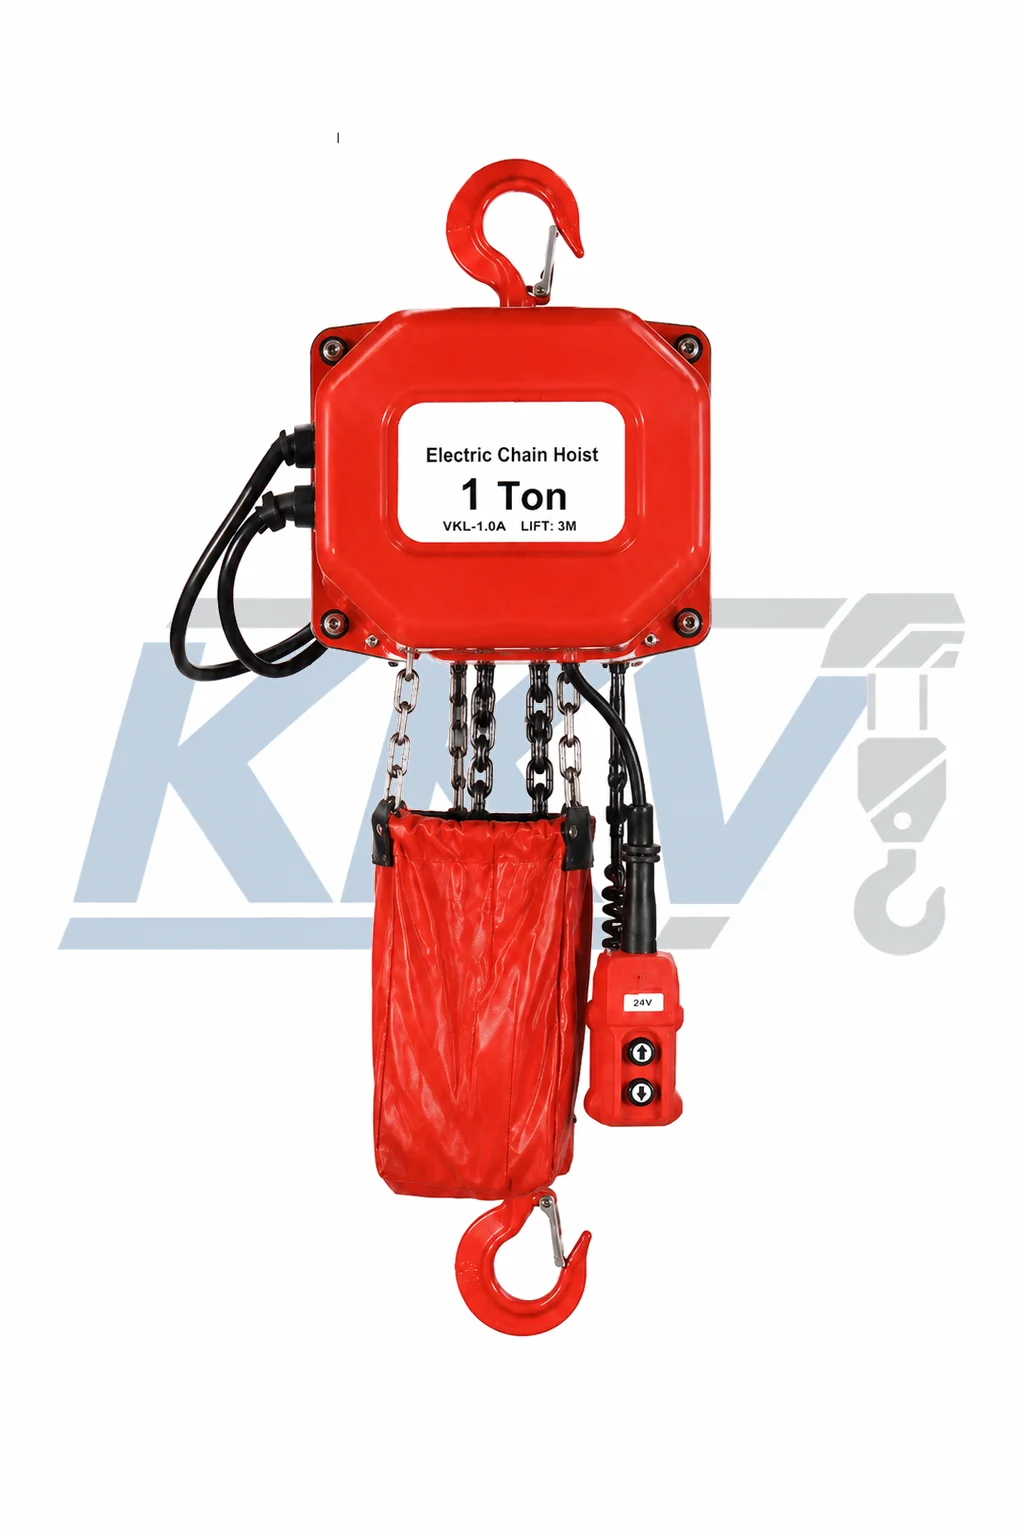
Inspect the container, its hardware, and its hoist connection. It must suit the chain and lift, remain free of tears, cracks, sharp edges, deformation, and blocked drainage, and let chain enter and leave freely. Do not hand-pack chain. Examine the fasteners and support, not only the bag or box.
5. Inspect Hooks and Safety Latches
Examine top and bottom hooks, hook nuts or pins, blocks, swivels, yokes, and other retaining parts identified in the manual. Clean the hook sufficiently to see its surface. Look for cracks, deformation, twist, increased throat opening, gouges, sharp wear, corrosion, heat or welding marks, damaged threads, and evidence of point or side loading. Any required dimensional check must use the manufacturer’s reference locations and rejection criteria. A previous baseline recorded for the same serialized hook is more useful than a guess based on appearance.
The hook should articulate only as designed, without roughness, excessive looseness, or binding. Retainers, pins, nuts, and locking devices must be secure. Do not grind, straighten, weld, or heat-treat a hook without an approved manufacturer procedure.
Check that the latch is present, undamaged, aligned with the hook tip, and able to close and return freely. The latch helps retain a properly seated sling; it is not intended to carry the load or make tip loading acceptable. A sling bearing against the latch, a latch held open by crowded rigging, or a connection resting on the hook point indicates a rigging or hook-selection problem. Treat a missing or malfunctioning latch according to the manufacturer’s instructions and applicable rules rather than improvising with wire or tape.
6. Test the Brake and Hoist Operation
Perform functional testing in a controlled, clear area and in the sequence specified by the manual. Start with the hook unloaded. Briefly operate up and down, verify that motion matches the control markings, and release each command. The motor should stop as intended, and the hook should not continue traveling because a contactor sticks or a control remains engaged. Observe acceleration, deceleration, vibration, housing movement, and sound. New scraping, chattering, squealing, repeated clutch action, or a burnt odor requires investigation.
The brake check should verify that the hoist stops and holds as designed, without unintended drift. If the applicable procedure calls for a known test load after the no-load check, the load must be verified, rigged correctly, kept close to the floor, and controlled under an authorized test plan. Do not suspend a random production load and call the result a brake test. Never adjust a brake while a load is hanging.
Stopping behavior varies with design, speed, load, and manufacturer criteria; there is no universal pass/fail distance. Internal inspection may require measurement of wear components, air gap, springs, discs, or linings after isolation. That work belongs to qualified personnel following the manual.
Overload protection is not an operating control. Repeated clutch action, inability to lift a verified in-capacity load, or unexpected heat calls for investigation, never an improvised setting change.
7. Check Upper and Lower Limit Devices
Identify which travel-limiting devices the model actually has and what each device is intended to do. Designs differ: a hoist may have an upper electrical limit, upper and lower limits, a mechanical arrangement, or another protective device. Never assume that a feature shown on a different model is installed.
When the manufacturer or governing procedure requires a functional check, use an unloaded hook and approach the trip point slowly or by careful inching. Maintain clearance and stop immediately if the device does not interrupt the commanded motion as intended. Do not repeatedly drive the hook block, chain stop, spring, or cushion into the hoist body. After a limit operates, move away from the limit in the normal manner and investigate any sticking, delayed response, inconsistent trip point, or inability to move in the safe direction.
Upper and lower limits protect against overtravel; they are not targets for normal motion. OSHA’s rule for equipment within its scope says the upper hoist limit is not an operating control, and manuals commonly give the same warning. Failure, bypass, unauthorized adjustment, actuator damage, or incorrect wiring requires removal from service until corrected and verified.
8. Inspect Pendant Controls and Emergency Stop
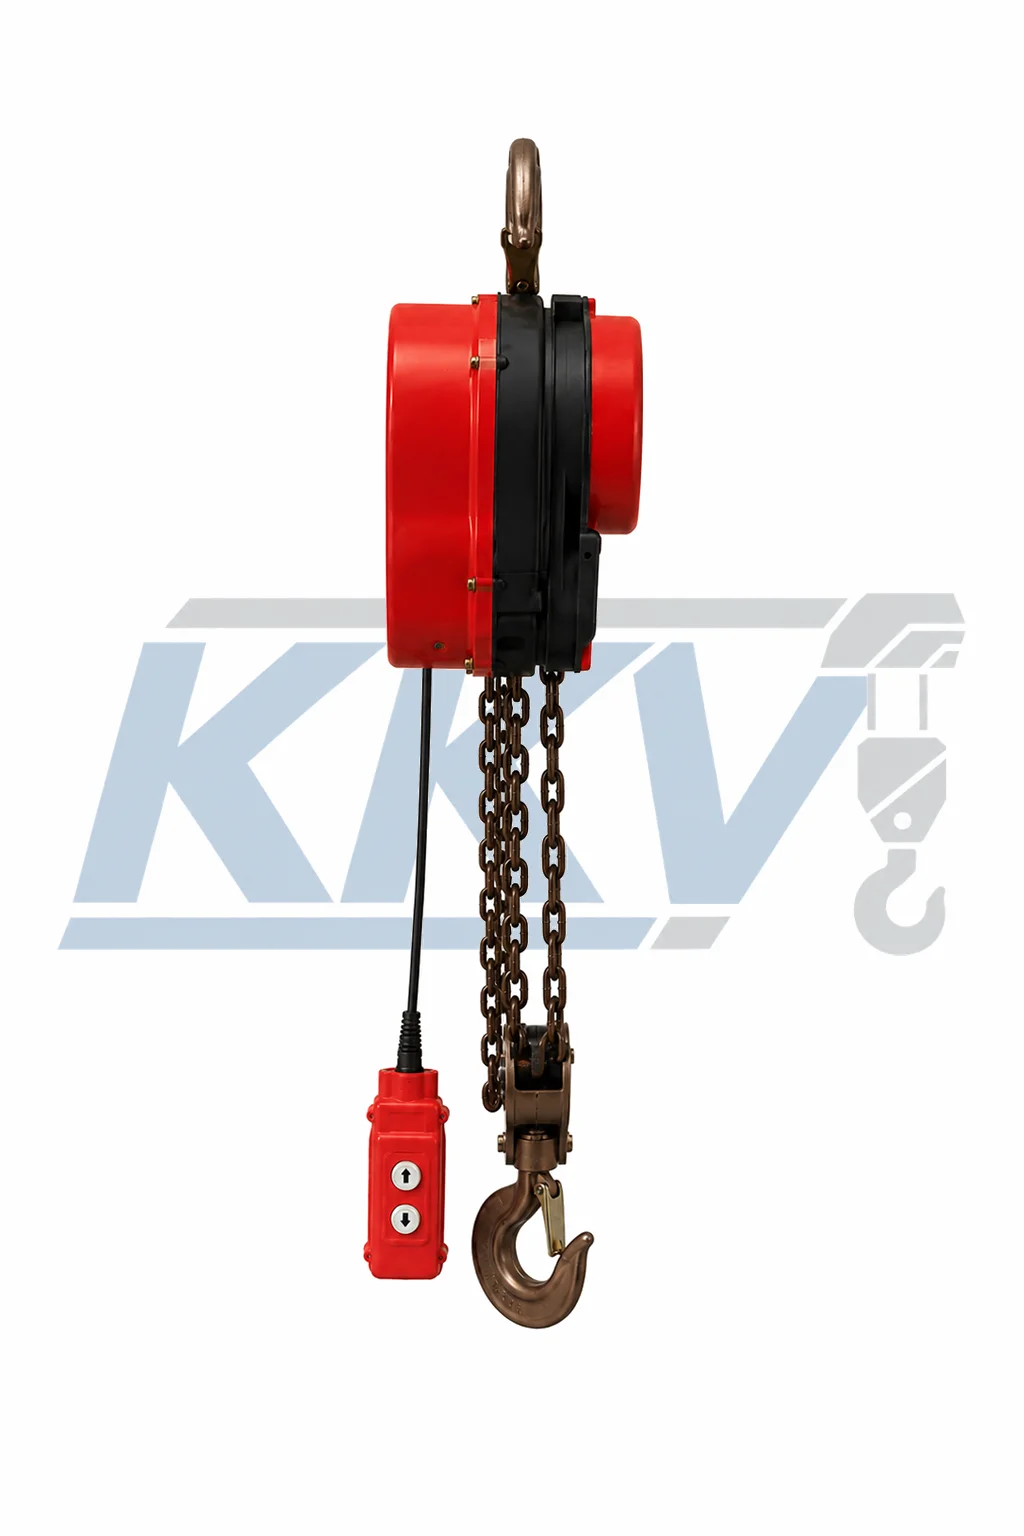
Inspect the pendant for cracks, missing fasteners, contamination, water entry, and unreadable labels. Buttons must move smoothly and return when released. Markings must match actual hoist and trolley travel from the normal operating view. Wrong or unpredictable motion requires an immediate stop, not operator adaptation.
Examine the pendant cable along its accessible length for cuts, crushing, abrasion, kinks, exposed conductors, pulled glands, taped repairs, and strain at terminations. The independent strain-relief member, when part of the design, should carry the pendant’s mechanical load instead of the electrical conductors. Keep the pendant and cable clear of loads, sharp edges, hot surfaces, and trolley wheels.
Test the emergency-stop device and reset behavior in the way the manufacturer and site procedure specify. Confirm which motions it removes and that resetting it does not itself restart movement. An emergency stop does not replace the main disconnect, energy isolation, or normal stop control. If a button sticks, a motion continues after release, the enclosure is electrically unsafe, or the emergency function fails, isolate and tag the hoist.
For radio or separate trolley controls, also check identity, labels, enclosure, enable functions, and loss-of-signal behavior under the original instructions. Only authorized persons should troubleshoot internal wiring.
9. Inspect the Trolley, Beam, and Suspension
An electric chain hoist is only as secure as the structure and fittings above it. Inspect the top hook, suspension lug, eye, shaft, pin, clamp, or other connection specified for the installation. Confirm that keepers, locking nuts, cotter pins, retainers, spacers, and fasteners are present and seated. Look for cracks, distortion, corrosion, fretting, loose hardware, shifted components, and witness marks that suggest movement.
For a trolley-mounted hoist, examine wheels, axles, bearings, gears, side plates, equalizing parts, bumpers, and anti-drop or anti-tilt devices where fitted. Check that wheel spacing and flange engagement remain appropriate for the beam and that the trolley travels smoothly without skewing, binding, climbing, or unusual noise. Motorized travel should stop when its control is released. End stops must be present, secure, and suitable for the installed trolley; they are not parking brakes.
Inspect accessible beam flanges and the supporting structure for deformation, cracking, corrosion, impact damage, loose connections, or changes made since approval. Do not attempt to certify structural capacity from a visual check alone. Suspected beam damage, an unverified support rating, a modified suspension, or a mismatch between trolley and beam needs evaluation by the responsible qualified person or engineer.
Confirm that the hoist hangs correctly and lifts vertically without the body, chain, container, or trolley contacting nearby work.
10. Inspect the Electrical System, Lubrication, and Environment
From outside closed enclosures, look for damaged power or festoon cables, loose glands, broken conduit, missing covers, impact damage, blocked ventilation, moisture, oil contamination, scorch marks, and unusual odor or heat. Verify that supply voltage, phase, frequency, control voltage, disconnecting means, and protective devices are compatible with approved documentation. Grounding and bonding must be intact. OSHA’s electrical requirements for cranes and monorail hoists illustrate why power-disconnect and overtravel protection need system-level attention where that rule applies.
Internal examination and electrical testing require isolation and an appropriately qualified electrical worker. Contactors, terminals, transformers, brakes, limit circuits, motors, and protective devices can retain or expose hazardous energy. Do not defeat an interlock, oversize a fuse, bypass a limit, or use tape as a permanent cable repair. After electrical work, verify phase sequence and every commanded direction before returning the hoist to service.
Lubricate specified points with the product, amount, and method in the exact manual. Too little accelerates wear; excess attracts contamination or reaches surfaces that must remain dry. Never contaminate a brake or friction device.
Compare the actual environment with the hoist’s approved conditions. Rain, washdown, conductive dust, abrasive particles, corrosive chemicals, salt air, explosive atmospheres, extreme temperature, outdoor storage, and high-duty cycling can change both equipment selection and inspection frequency. An enclosure that looks robust is not proof of a required ingress, hazardous-location, or corrosion rating. Record environmental changes and confirm suitability before continued use.
11. Report Defects and Remove Unsafe Equipment From Service
An effective program defines the immediate response to a finding. When acceptability is uncertain, stop and escalate rather than allowing production pressure to decide.
| Component or observation | Warning sign | Immediate action |
|---|---|---|
| Load chain or anchorage | Crack, deformation, severe corrosion, poor seating, twist, or abnormal engagement | Stop; lower safely if possible; isolate and tag for qualified evaluation |
| Hook, latch, or lower block | Crack, changed geometry, insecure retainer, latch failure, or binding | Remove from service; do not straighten, weld, or improvise a latch |
| Brake or motion | Drift, continued motion after release, abrupt change, overheating, or unusual sound | Stop operation; secure the area and isolate before diagnosis |
| Limit or emergency function | Failure, delay, bypass, damage, or unintended restart | Isolate immediately; repair and verify before release |
| Pendant or power cable | Exposed conductor, crushed jacket, pulled gland, sticking control, or wrong direction | De-energize and prevent use; route to qualified electrical personnel |
| Trolley, suspension, or beam | Loose retainer, crack, deformation, skewing, impact damage, or uncertain rating | Stop lifting and obtain mechanical or structural evaluation |
| Environmental condition | Water, chemicals, dust, temperature, or hazardous area beyond approval | Quarantine until suitability and any required corrective action are confirmed |
Where it can be done without increasing risk, lower the load, switch off, isolate as required, attach a durable out-of-service tag, and prevent re-energization. Record the asset, location, date, reporter, operating condition, component, symptom, and controls. Use objective evidence—“bottom hook latch does not close,” for example—and add photographs or measurements only when safe.
An authorized person decides disposition, involving the manufacturer, hoist technician, electrical specialist, or structural engineer when needed. Production pressure, “watch it,” or continued motion is not an acceptance criterion.
Repairs must use approved procedures and suitable parts. Before the tag is removed, document the correction and complete the inspection, operational testing, and any load test required by the manufacturer, applicable standard, local law, or nature of the repair. The person authorized by the program—not the person who merely needs the hoist—should release it back to service.
12. Maintain Useful Inspection Records
Records should show more than a checked box.
| Record field | What to capture |
|---|---|
| Asset | Unique ID, manufacturer, model, serial number, location, and rated load |
| Inspection | Type, scope, date, operating state, and relevant service or environmental conditions |
| Inspector | Name and required qualification, designation, or authorization |
| Findings | Items examined, objective defect descriptions, photographs, and measurements |
| Acceptance basis | Manual, procedure, standard, drawing, criteria, and revision used |
| Corrective work | Disposition, repair, parts installed, responsible person, and completion date |
| Release | Operational or load-test results as required, approval, and calculated next due date |
The next inspection date should be generated from the governing program, not copied blindly from another hoist. Preserve earlier measurements of chain and hook dimensions so the reviewer can see trends. Repeated cable damage, brake adjustment, corrosion, or chain wear may reveal a routing, environment, duty, or operator-training problem that one isolated checklist cannot show.
Keep controlled records accessible as required. A serialized register prevents reports being attached to the wrong identical-looking hoist. A paper tag does not replace central repair evidence and approval history. Follow applicable retention and signature rules.
13. Step-by-Step Electric Chain Hoist Inspection Checklist
Use this field sequence as a framework, then align each item with the model manual and your approved program. Mark pass, defect, or not applicable; do not treat an unexamined item as a pass.
- Identify the asset. Match the hoist, serial number, location, and manual. Review open defects, repair history, unusual events, and time out of service.
- Control the area. Establish lighting, access, exclusion zones, and communication. Remove unrelated people and obstacles from the travel and potential drop areas.
- Verify markings. Confirm that the nameplate and load-rating information are legible and consistent with the planned load, power supply, duty, and configuration.
- Check the support. Inspect the accessible beam, fixed point, trolley, clamps, pins, retainers, fasteners, end stops, and suspension connection. Escalate structural questions.
- Follow the load path. Trace every connection from support to rigging. Confirm vertical alignment and rule out side pull, obstruction, and unintended contact.
- Inspect the hoist exterior. Look for loose or missing fasteners, cracked covers, leaks, collision evidence, corrosion, blocked vents, and unauthorized modification.
- Inspect the load chain. View accessible links across the operating length for damage, corrosion, wear, twist, poor articulation, and abnormal seating. Measure only by the manufacturer-approved method.
- Confirm reeving and anchorage. Check multi-fall orientation, chain guides, the no-load end, stops or anchors, and lower-block alignment against the manual.
- Inspect the chain container. Verify correct attachment, condition, capacity, clearance, and free chain entry and exit. Do not hand-pack chain into it.
- Inspect hooks and latches. Examine both ends for cracks, wear, opening, twist, gouges, heat, secure retention, smooth articulation, and a functional latch.
- Inspect the pendant. Check the housing, labels, button movement, cable jacket, glands, strain relief, and protection from snagging or impact.
- Inspect visible electrical parts. Check cables, conduit, covers, disconnects, and signs of heat, moisture, or damage. Leave internal work to qualified personnel after isolation.
- Check lubrication and environment. Confirm approved lubrication and note dust, moisture, chemicals, temperature, weather, or duty changes that affect suitability or frequency.
- Prepare for no-load operation. Clear the area, remove the load, energize under the approved procedure, and remain outside pinch, travel, and drop zones.
- Verify control direction. Jog each motion and confirm that it matches pendant labels. Release every button and confirm that motion stops normally.
- Observe hoisting and travel. Run only as far as needed through the safe range. Listen and watch for binding, jumping chain, skewing trolley, vibration, odor, or unusual heat.
- Check brake response. Verify controlled stopping and holding using the manufacturer’s no-load and authorized test procedure. Do not guess an allowable drift value.
- Check limits and emergency stop. Approach travel limits carefully with no load and test emergency functions as instructed. Never use a limit as the normal stop.
- Classify every finding. Record objective evidence. If safety significance is uncertain, treat the result as unresolved and keep the hoist out of service pending competent evaluation.
- Close the inspection. Isolate for maintenance where needed, tag defective equipment, submit the report, and document repairs, tests, and formal return-to-service authorization.
An operator card may contain fewer items, but it must not reduce the separate frequent or periodic scope. Map every checklist version to its purpose, performer, interval, and acceptance source.
14. Common Electric Chain Hoist Inspection Mistakes
Checking only the hook. Inspect the support, suspension, hoist, chain, lower block, hook, rigging, and controls. Damage above eye level may be critical.
Using a generic rejection chart. Model-specific chain, hook, brake, and limit criteria are not interchangeable. Record the acceptance source.
Treating the limit switch as a normal stop. Repeatedly running into a limit wears a backup device and normalizes poor operating practice. Stop with the pendant control and preserve limits for overtravel protection.
Testing functions with a production load first. Begin with an unloaded hook and controlled area. Use a verified test load only when the approved procedure requires it and the no-load checks have passed.
Looking at only the exposed chain. The most frequently loaded or engaged links may be inside the hoist or container at rest. Safely bring the operating length into view without reaching into moving parts.
Confusing cleaning with repair. Paint, grinding, heating, welding, straightening, and improvised splicing can hide or worsen defects. Cleaning must reveal the condition without changing load-bearing geometry or material properties.
Allowing a tag to substitute for isolation. An out-of-service tag communicates status; the energy-control process prevents hazardous startup during intrusive inspection or repair. Use both when the situation requires them.
Closing the report when repair is ordered. Close it only after documented correction, required tests, and authorized release.
15. Electric Chain Hoist Inspection FAQs
1. How often should an electric chain hoist be inspected?
Use the frequency required by applicable law, standards, the manufacturer, and the employer’s program, adjusted for service, environment, duty, unusual events, and previous findings. Shift, frequent, and periodic checks serve different purposes; no single calendar interval is universally legal or safe. Inactivity, relocation, alteration, overload, repair, or suspected damage may also trigger inspection before use.
2. Who is allowed to inspect an electric chain hoist?
A trained operator commonly performs the pre-use check. Frequent and periodic work may require a designated, appointed, competent, or qualified person, as the governing rule or program defines. Electrical troubleshooting, structural evaluation, brake adjustment, dismantling, and release require appropriate expertise and authorization. A checklist cannot create qualifications that the inspector does not have.
3. Does a daily or pre-use check replace a periodic inspection?
No. A pre-use check targets obvious or newly developed hazards; it may not reveal internal wear, electrical deterioration, hidden damage, or dimensional trends. Maintain separately scheduled and documented frequent and periodic work. If a pre-use finding is uncertain, the operator should stop and escalate it rather than approve the equipment.
4. How do I measure electric hoist load-chain wear?
Follow the exact hoist or chain manufacturer’s current procedure for instrument, link span, contact points, positioning, and rejection criterion. Clean the chain enough for a valid reading and compare it with the stated limit or verified baseline. Never apply rope criteria or another brand’s value. Surface condition and free articulation still matter when dimensions appear acceptable.
5. Can the upper limit switch be used to stop every lift?
No. A travel limit protects against overtravel; it is not the normal stop. Use the designated control before the hook block reaches it. Test it only with the cautious, no-load method required by the manual and program. Failure, delay, sticking, or repeated service contact requires removal and correction.
6. Can a hoist operate with a missing or damaged hook latch?
Stop and apply the manufacturer instructions and governing requirements for the identified hook and application. A latch retains properly seated rigging; it is not load-bearing and does not cure tip loading. Never substitute wire, tape, or a mismatched part. Even with an intact latch, the hook must pass surface, geometry, retention, and articulation checks.
7. How should the holding brake be tested?
Start with a controlled no-load check and observe whether the hook stops when the command is released. Follow the manual for any holding test, verified test load, height, duration, and acceptance criteria. Keep the area clear. Drift, changed response, noise, overheating, or odor requires evaluation; only qualified personnel should make internal checks after isolation.
8. Is a rated-load test required during every inspection?
Not automatically. Inspection and load testing are distinct, and requirements may depend on jurisdiction, installation, alteration, repair, relocation, classification, and manufacturer instructions. Unnecessary testing adds risk. The responsible person must establish the requirement, approve the procedure and verified test load, assess support and rigging, control the area, and retain the required report.
9. Can a damaged load-chain link be repaired or replaced by itself?
Do not weld, grind, heat, straighten, splice, or swap an individual link as a field fix. Chain works with its sheave, guides, anchorage, and lower block, and local work can change strength or fit. Follow the manufacturer’s complete replacement instructions, including mating parts, reeving, lubrication, inspection, and post-work tests by authorized personnel.
10. What should an electric chain hoist inspection record contain?
Capture the asset and serial number, location, rating, inspection type and scope, date, service conditions, inspector, findings, measurements, acceptance source and revision, corrective work, tests, and release approval. Preserve prior readings to reveal trends. The governing program should define retention, signatures, access, and how an overdue inspection prevents use.
11. What should happen before a hoist returns after long storage or inactivity?
Do not simply energize and lift. Review the storage duration and conditions, reason for inactivity, preservation records, and applicable rules. Inspect for corrosion, contamination, seized movement, lubricant condition, moisture, cable damage, missing parts, and changes. Complete required inspection and testing, correct defects, verify controls and protective functions, and document release before production.
12. How do I choose a KKV electric chain hoist for an application?
Document the load, lift, speeds, duty, power, headroom, suspension, beam, controls, environment, and standards. Then compare starting points such as the HHSY electric chain hoist, VKL electric chain hoist, and DHS electric chain hoist. Webpage comparison is not approval; KKV and the responsible specialist must confirm configuration and installation conditions.
Inspect the Complete Hoist System, Not Just the Hook
For configuration support: A dependable program connects operator observations, qualified examination, planned maintenance, records, and disciplined removal from service. It starts with equipment selected for the real load and environment. Review KKV Hoist’s electric chain hoist range and send application details to sales@kkvhoist.com.
Provide rated and typical loads, lifting height, operating frequency, power supply, trolley or fixed suspension needs, beam information, control preference, ambient conditions, and destination standards. KKV product information can narrow the options, but final approval must be based on verified application data, the supplied manual, and review by the responsible qualified parties.
Safety note: This checklist is educational guidance, not a substitute for the manufacturer’s instructions, an employer’s approved procedure, competent engineering judgment, or applicable law. Never use a hoist with an unresolved safety defect, never work beneath a suspended load, and never bypass a brake, limit device, interlock, guard, or emergency function to keep production moving.